


How to Install a Plug-in Solar Panel Kit Safely
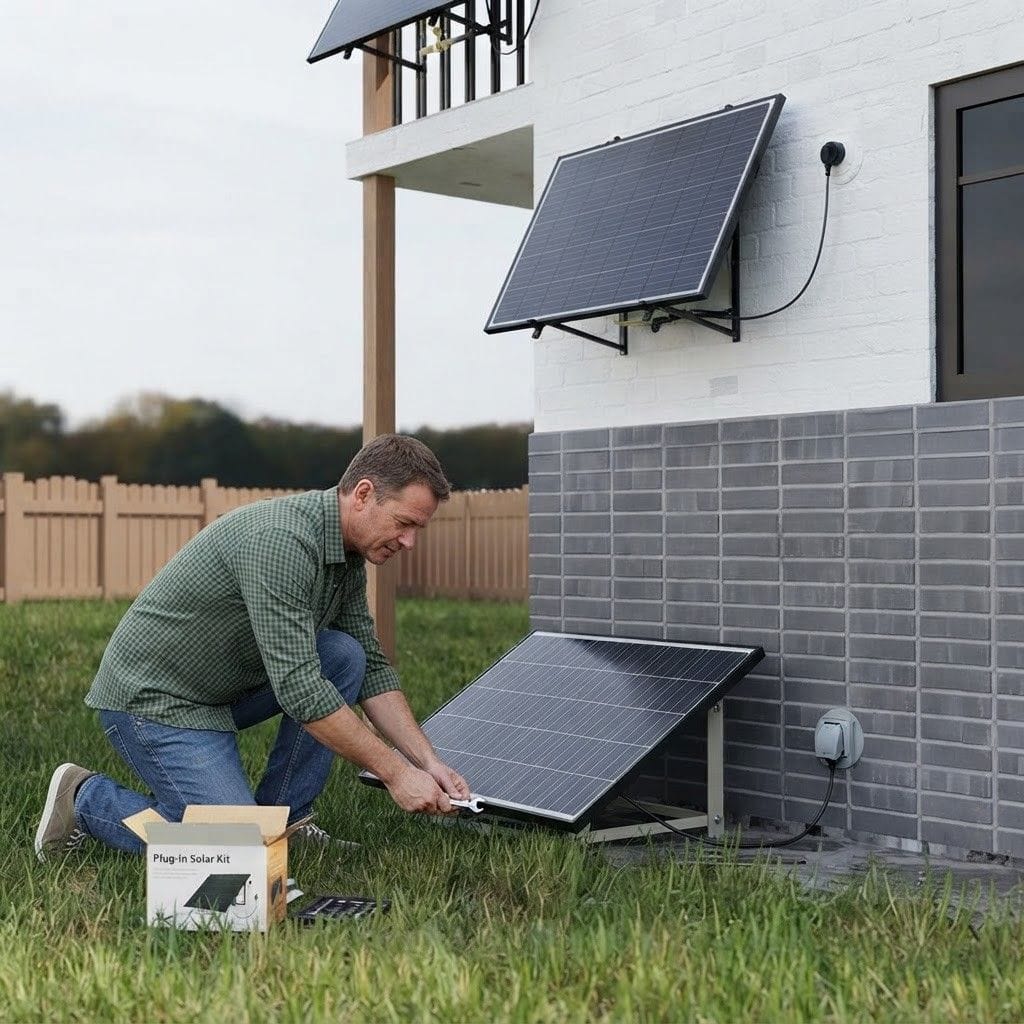
Installing plug-in solar kits is one of the more straightforward home energy projects you can take on. Hampshire Generators supply plug-in solar kits designed to be installed by the homeowner, and most people have their system mounted, connected and generating electricity within a couple of hours without any specialist tools or technical knowledge.
That said, doing it correctly matters. A poorly positioned or incorrectly connected system will underperform at best and create safety risks at worst. This guide walks you through installing plug-in solar kits safely, step by step.
If you are still deciding which kit is right for your home, our guide to the best plug-in solar panels for flats and apartments covers the full range and helps you choose before you buy.
What You Need Before You Start
A few things are worth confirming before you begin.
You do not need a qualified electrician for most domestic plug-in solar installations. The kits connect directly to a standard UK socket without any rewiring or modifications to your consumer unit. However, you should be confident that you can set the system up correctly. If you have any doubts about installing or connecting a microinverter system, it’s always best to seek assistance from a competent person. Having the installation checked once it’s in place is also the most cautious approach for anything intended as a permanent installation.
Planning permission is not required for most standard balcony or garden setups. As of April 2026, plug-in solar is formally recognised under BS 7671 Amendment 4, with 800W set as the maximum permitted output for domestic properties. You can read the full details in our guide to UK plug-in solar regulations.
If you rent, check your tenancy agreement before installing anything externally. Most landlords will not object to a temporary balcony setup, but confirming first avoids any issues down the line.
Each kit from Hampshire Generators includes everything you need to get started: solar panels, a microinverter, mounting brackets, cabling and a plug-in cable. If you are completely new to plug-in solar and want the lowest commitment starting point, the 300W pop-up kit is worth considering before stepping up to a larger system.
Installing Plug-in Solar Kits Safely
Important Information About Installing Plug-in Solar Kits
One of the main advantages of plug-in solar kits is that they’re designed to be installed by the homeowner without the need for a qualified electrician in most domestic situations. They connect directly to a standard UK socket, making installation much simpler than a traditional rooftop solar system.
That said, you should be confident carrying out the installation yourself and comfortable setting up the microinverter and any companion app used to monitor the system. If you’re unsure about any part of the installation or configuration process, it’s always sensible to seek assistance from someone with the appropriate knowledge and experience.
Understanding how the installation process works can help you prepare for your new system and know what to expect. The steps below explain the typical stages involved in installing plug-in solar kits before they begin generating electricity.
Step 1: Choosing a Location
The first stage of the installation process involves identifying a suitable location for the solar panels. Balcony railings, garden fences, shed roofs and flat roofs can all provide suitable mounting positions. South-facing locations generally deliver the highest output in the UK, although east and west-facing positions can still generate useful amounts of electricity throughout the day.
Before installing the panels, consider factors such as available space, structural support and any potential shading from nearby walls, trees or overhangs. Even partial shading can affect overall system performance, making location selection an important part of the installation process.
Step 2: Mounting the Panels
Once a suitable location has been identified, the panels are mounted using the brackets supplied with the kit. The mounting method will vary depending on the chosen system, as bracket configurations differ between flexible and rigid panels.
Flexible panels are often selected for applications where a lighter mounting solution is beneficial, while rigid panels are typically installed in more fixed positions. During installation, all brackets and fixings should be secured correctly to help ensure long-term stability and performance.
Step 3: Connection to the Microinverter
After the panels have been mounted, they are connected to the microinverter using the supplied cabling. The microinverter converts the DC electricity generated by the panels into AC electricity that can be used within the property.
Connections should be completed using the components supplied with the system and in accordance with the manufacturer’s installation guidance. This helps ensure safe operation and supports the long-term performance of the system.
Step 4: System Connection and Testing
The final stage involves plugging the system into a suitable UK socket and confirming that it is operating correctly. Once connected and exposed to sufficient daylight, the system will begin generating electricity.
Many plug-in solar kits supplied by Hampshire Generators can also be monitored through a companion app, such as the TSUN Smart App. This allows you to monitor electricity generation and system performance in real time. Setting up the app and pairing it with the microinverter is an important part of the installation process, so it’s worth taking your time to ensure everything is configured correctly before relying on the system.
Getting the Best Performance After Installing Plug-in Solar Kits
Position your panels at a tilt of around 30 to 40 degrees where possible. Panels lying completely flat generate less electricity than those angled towards the sun, so even a modest tilt makes a measurable difference to your annual output.
If your initial position is not delivering the output you expected, plug-in solar panels can be moved and repositioned without any specialist work. This is one of the practical advantages over permanent rooftop systems, particularly if your outdoor space changes seasonally in terms of shading or sunlight.
Beyond an occasional clean to keep the panel surface clear of dirt and debris, the systems require very little ongoing maintenance. A quick wipe down every few months is usually enough to keep output consistent year-round.
Which Plug-in Solar Kit Should You Buy?
For renters, first-time installers and smaller balconies, the 400W Plug-in Solar Kit is the most practical starting point. The panels are lightweight, straightforward to mount and simple to remove when your tenancy ends, generating up to 350 kWh per year.
For larger outdoor spaces and higher daytime electricity usage, the 800W kit with rigid panels delivers stronger output while keeping installation just as manageable. Generating up to 750 kWh per year, it hits the maximum output permitted under current UK rules and suits remote workers, larger apartments and south-facing balconies with consistent sunlight.
For homeowners wanting a permanent, fixed installation with the best long-term return, the 800W rigid kit is the strongest option in the range. It pays back in two to three years at current UK electricity prices and continues generating free electricity well beyond that.
Not sure which size suits your home? Browse the full plug-in solar range and compare all options before you buy.